Birthday Cake Truffles

- Yield: 18 cake truffles 1x
Ingredients
Scale
Vanilla Cake:
- Renewal Mill Upcycled Vanilla Cake & Cupcake Mix
- ¼ cup + 1 Tbsp (62g) neutral oil
- ¾ cup + 1 Tbsp (184g) water
- ¼ cup (50g) rainbow jimmies
Birthday Sand:
- ¼ cup (50g) granulated sugar
- 1 Tbsp (13g) light brown sugar
- 2/3 cup (75g) cake flour
- ¼ tsp baking powder
- ¼ tsp kosher salt
- 1–3 Tbsp rainbow jimmies, divided
- 2 Tbsp neutral oil
- 2 tsp vanilla extract [1]
Vanilla Milk:
- ¼ cup (57g) whole milk
- 1 tsp vanilla extract [1]
White Chocolate Coating:
- 6 ounces (170g) white chocolate, chopped
- 1 Tbsp neutral oil
Instructions
Vanilla Cake:
- Heat oven to 350°F. Grease and line the bottom of a 9" round cake pan with a circle of parchment paper; set aside.
- In a large bowl, combine cake mix, oil, water, and jimmies. Using a handheld mixer, beat on low for 30 seconds. Increase speed to high and beat for another 30 seconds.
- Pour batter into prepared pan, smoothing the top with an offset spatula or the back of a spoon.
- Bake 18–23 minutes. Cake is done when a wooden pick inserted in the centre comes out clean with only a few fluffy crumbs attached.
- Allow cake to cool for 15 minutes before removing from pan and transferring to a wire rack. Let cake cool completely.
Birthday Sand:
- Heat oven to 300°F. Line a (preferably rimmed) baking sheet with parchment paper; set aside.
- In the bowl of a stand mixer fitted with paddle attachment, mix together sugars, cake flour, baking powder, kosher salt, and jimmies on low speed.
- Add oil and vanilla, then beat on medium until mixture forms small sandy clumps. Pause and scrape down sides of bowl as necessary to incorporate any sneaky dry bits.
- Spread mixture into a single layer on prepared baking sheet.
- Bake for 20 minutes. Halfway through the bake time, use a wooden spoon to break up some of the clumps. Then rotate pan and return to oven.
- Transfer pan to wire rack and allow to cool completely.
- Once crumbs are totally cool, blitz them in the food processor until they resemble sand. Alternatively, you can place crumbs into a zipper storage bag and crush ‘em with your rolling pin.
- Pour sand into a medium bowl. If desired, mix in another 1–2 tablespoons of rainbow jimmies.
Vanilla Milk:
- In a small bowl, mix together milk and vanilla.
White Chocolate Coating:
- In a heatproof bowl, melt chocolate in microwave in 30-second increments until it’s mostly melted. Add oil, mixing to combine and melt the rest of the chocolate. Mixture needs to cool down some but remain pourable before assembly.
Assembly:
NOTE: Assembly can get a wee bit messy, so we highly recommend donning a pair of nitrile or latex gloves when forming your cake truffles.
- Once your vanilla cake is totally cool and you’ve made the birthday sand, vanilla milk, and white chocolate coating, it’s cake trufflin’ time!
- Line a rimmed baking sheet with parchment or wax paper; set aside.
- In a medium bowl, break cake into small pieces. Add vanilla milk, then use your hands to fully work the milk into the cake crumbs. The filling is ready when it’s moist enough to form into a big, yummy ball.
- Divide cake mixture into round balls that are about 1 ½ tablespoons each. (A cookie scoop is super helpful here.) Our truffles weighed roughly 30 grams each.
- Arrange your cake balls, white chocolate coating, birthday sand, and baking sheet in front of you so that you can do this next part efficiently.
- Put a couple tablespoons of (cooled yet pourable) white chocolate into the palm of one hand. Grab a cake ball and roll around in your palms until it’s coated with a thin layer of white chocolate. [2]
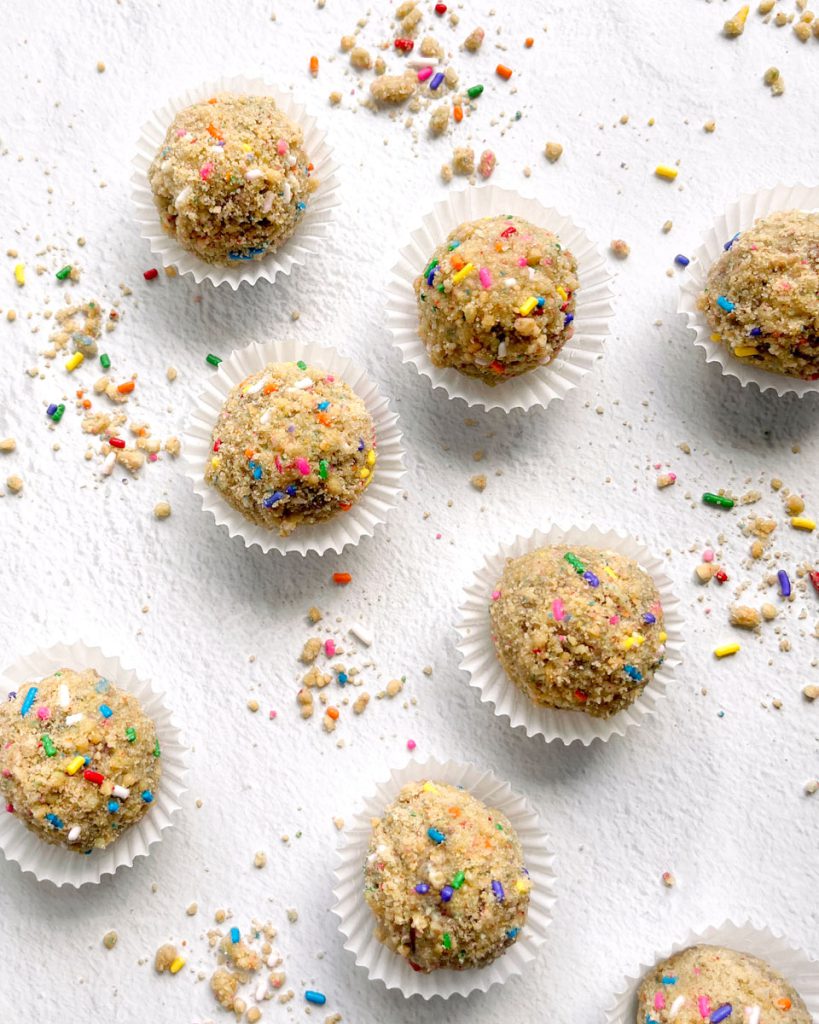
- Gently drop cake ball into birthday sand, quickly rolling and tossing to completely coat the truffle with sand. Place coated cake truffle onto lined baking sheet.
- Repeat process until all truffles have been created. We found we were able to coat about 3 truffles with chocolate before having to re-up the chocolate in our hands. But do whatever works best and most efficiently for you.
NOTE: If at any point during assembly the chocolate hardens too much, simply pop it back in the microwave for 10–20 seconds. - Refrigerate truffles to set the chocolate coating and firm ‘em up.
Notes
- Christina Tosi recommends clear McCormick vanilla flavour so the truffles are whiter. However, we personally don’t like using the artificial stuff, so we used our go-to (Nielsen-Massey Madagascar Bourbon vanilla extract). We’re a-okay with more natural, yet slightly darker truffles!
- You might be wondering why we’re using this method instead of simply dipping the balls into the chocolate. For one, this method is what Christina Tosi recommended. Also, we tried dipping, and it coated the truffles in too much chocolate, so they looked gloppy and ugly once the sand was added.
Slightly adapted from: Milk Bar: All About Cake by Christina Tosi

Leave a Reply